Category: Electronics

My own STM32F1 dev board

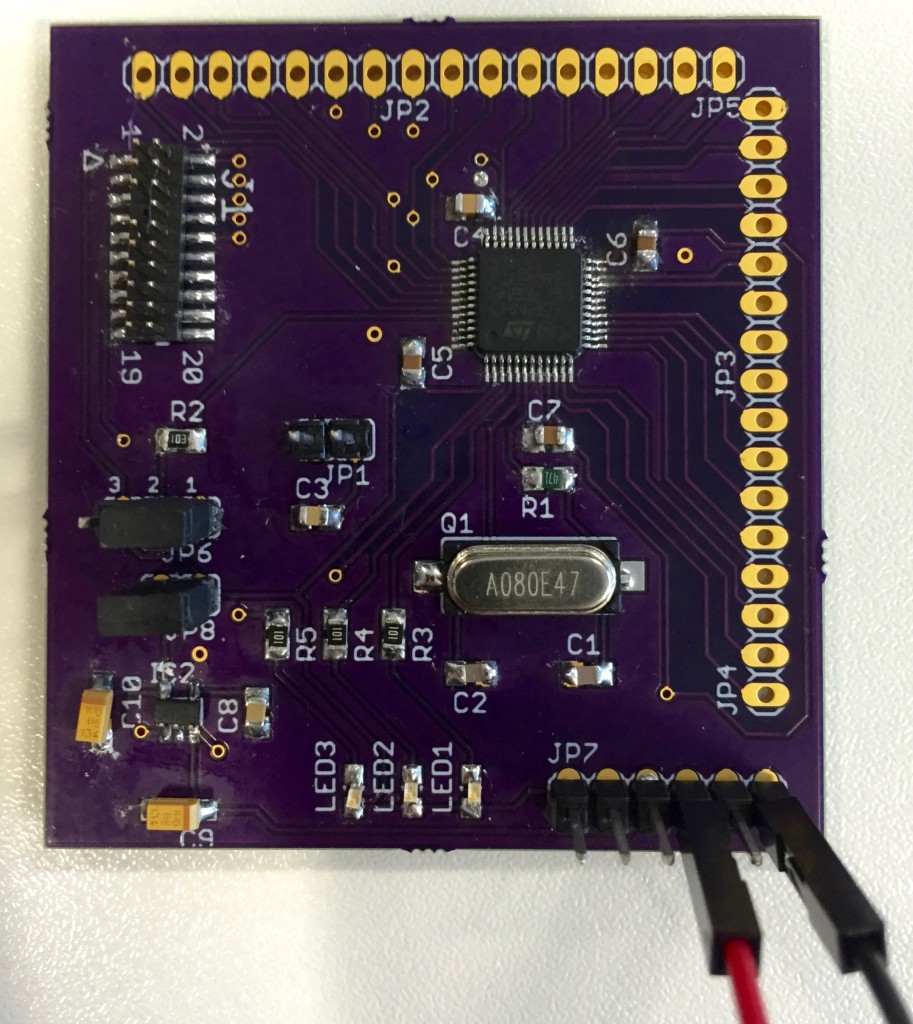
I decided to make my own STM32F1 development board to use for various projects. This is equipped with the STM32F103CBT6 MCU which has 128kB flash and 20kB ram. The board has a 19 pin JTAG header, 3.3V regulator, a few leds and headers for port a and b, 32 accessible IO pins. I have successfully driven a lcd and USB with this board and I am very happy how it turned out. The PCB is from OSHPark as my previous board. If I get more of these boards I will add silk screen with port numbers which I forgot in this revision. I have also cleaned the board a bit after this photo and added pin headers on the edges,

STM32F103 dev board

STM32F103 dev board

My next project is to build a more advanced dev board with a STMF4 cpu and an external SDRAM for more demanding applications.

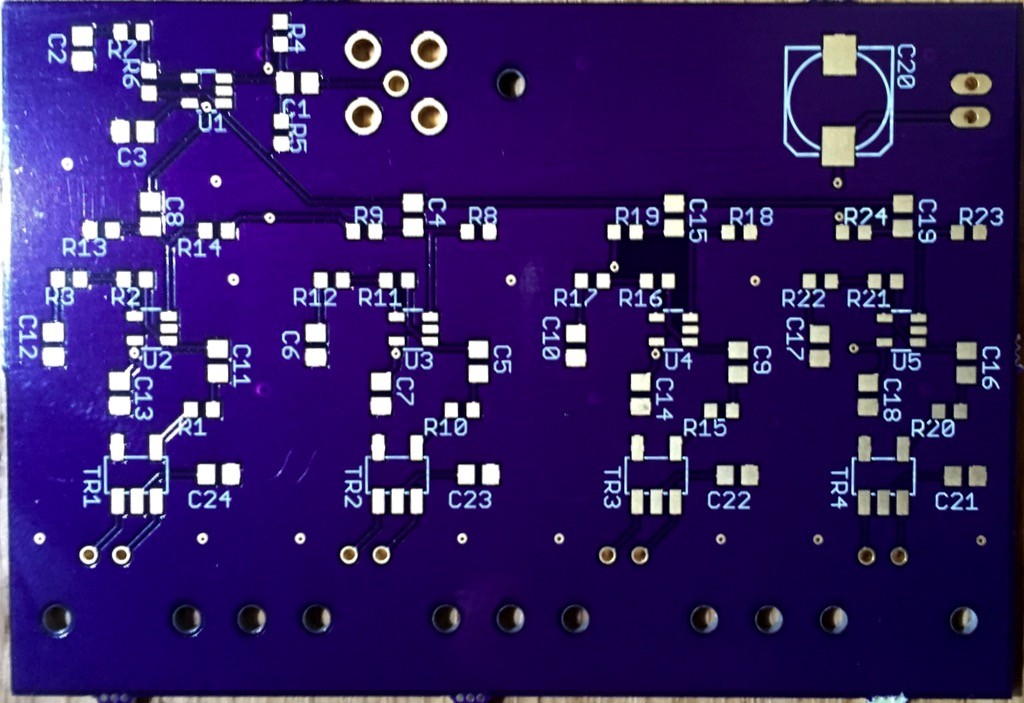
Amplifier PCB

I got my boards from OSH Park after about two weeks. The boards look very well made and I can’t see any manufacturing errors on them. I’m sorry about the bad lightning on this photo. It’s hard with such a reflective surface.

PCB for my amplifier made by OSH Park

PCB for my amplifier made by OSH Park


Rubidium Frequency Standard

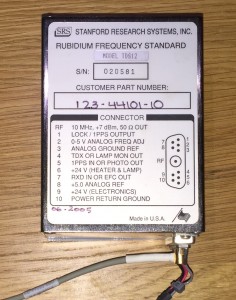
A new eBay purchase. A 10 MHz rubidium frequency standard fro mStanford Research Systems. It is of course used but it seems to be in good shape.

SRS rubidium frequency standard

A Stanford Research Systems rubidium frequency standard

I plan on putting this into a nice case with power supply and to build a distribution amplifier to get multiple isolated 10 MHz outputs.

Although it has a different model number it seems to be the same as the PRS10 10 MHz Rubidium Oscillator found on the SRS web site.


Rasberry Pi

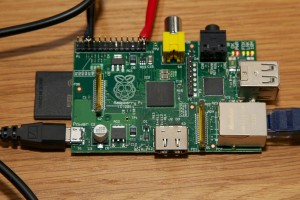
I recently got a Raspberry Pi and I thought I would add a photo of it.

I have not yet built anything around it but it boots and I can connect to it using ssh. My plans are to connect it to a dot matrix display that I have lying around here and let it present the weather forecast or something similar.


Arduino

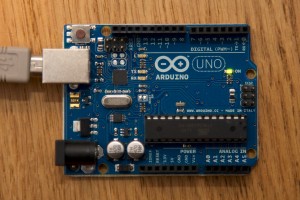
I bought an Arduino Uno recently to use when building prototypes. Using MCUs soldered to veroboard is nice, but it is not great for those projects where you just want to try something quickly. Thats where the Arduino comes in handy, now I can wire up something on a breadboard or solder a few things on a veroboard and connect the Arduino to control it.

A nice thing with the Arduino is that it uses an AVR MCU which means I can use my usual development tools such as AVR GCC when developing software and then transfer the code to a more permanent version later on.

Arduino Uno